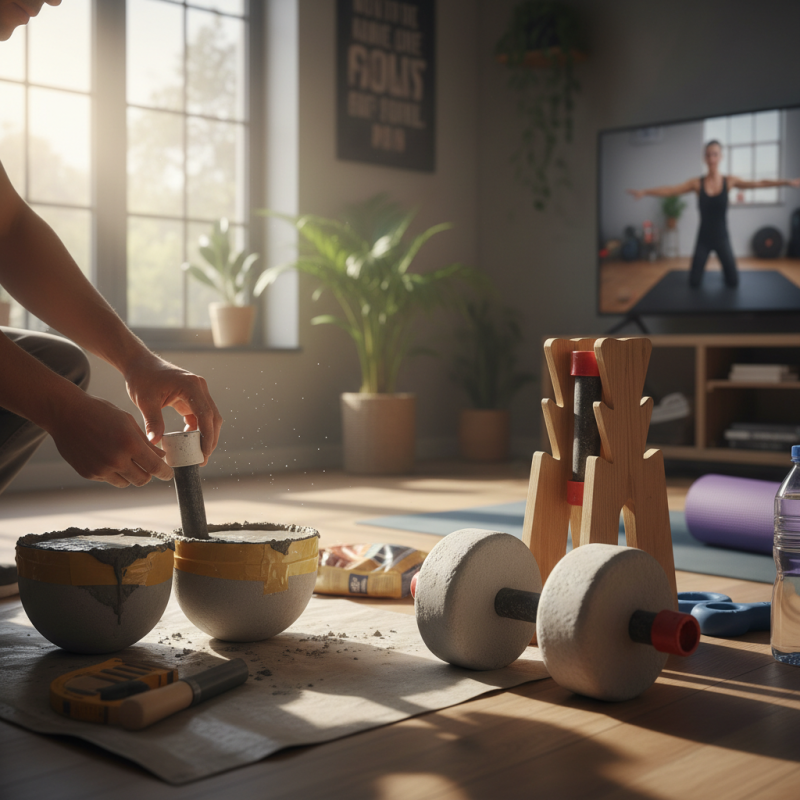
How to Make Cement Dumbbells for Home Workouts and Strength Training
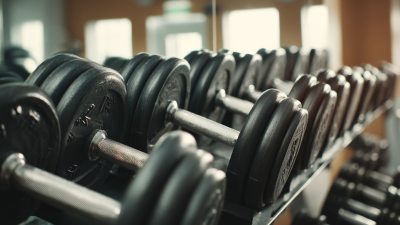
In recent years, the demand for home fitness solutions has surged, with the global home workout equipment market expected to reach $4.5 billion by 2025, as reported by industry analysts. Among various options, the "Cement Dumbbell" has emerged as a preferred choice for many fitness enthusiasts looking for cost-effective and customizable solutions for strength training. According to fitness expert Dr. Emily Hart, "Cement Dumbbells not only provide effective resistance training but also allow individuals to craft their own workout experience tailored to their unique goals."
The versatility and accessibility of Cement Dumbbells make them a practical alternative for those who may not have the space or budget for traditional gym equipment. With a few simple materials, anyone can create their own Cement Dumbbells at home, contributing to a growing trend of DIY fitness solutions. As more individuals prioritize home workouts in their fitness regimens, the significance of Cement Dumbbells in promoting strength training cannot be understated. Dr. Hart emphasizes, "The ability to manipulate weight and adjust sizes makes Cement Dumbbells an integral part of any home workout program."
In conclusion, as the home fitness landscape evolves, Cement Dumbbells represent a reliable and adaptable option for those dedicated to enhancing their strength and overall physical health. With the right techniques and a commitment to personal fitness, anyone can incorporate these tools into their routines effectively.
Materials Needed for Homemade Cement Dumbbells
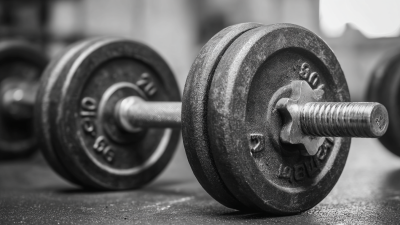
When embarking on the journey to make homemade cement dumbbells for strength training, the first step is gathering the necessary materials. Research indicates that the global fitness equipment market is projected to reach $15.2 billion by 2028, showcasing the growing demand for home workout solutions. By creating your own cement dumbbells, not only can you save money, but you can also customize the weights according to your training needs. The primary materials you'll need include cement, sand, water, and suitable molds to shape your dumbbells.
To start, you will require a sturdy mold, which can be constructed from plastic containers or even cardboard boxes. A mix of cement and sand is essential, with a common ratio being 1:2 for cement to sand, which enhances the strength and durability of your homemade weights. A recent study by the National Strength and Conditioning Association stated that resistance training using free weights can lead to significant improvements in muscle strength and mass, confirming the effectiveness of weights—whether purchased or homemade. Finally, ensure you have water for mixing and safety gear like gloves and a mask to protect yourself from inhaling dust particles during the mixing process. By utilizing these basic materials, you can create a functional and effective set of dumbbells tailored for your home workout regime.
Homemade Cement Dumbbells Materials Breakdown
Step-by-Step Instructions for Mixing Cement
Mixing cement for your homemade dumbbells can be a straightforward yet rewarding process.
To begin, gather your materials: cement, water, a mixing container, and a stirring tool.
Start with a ratio of 2:1 for cement to water,
adjusting as necessary to achieve a thick, workable consistency.
It’s essential to mix thoroughly until the cement is uniform without any dry patches.
This ensures a solid and durable end product.
When pouring the cement into molds, consider using old containers or specialized weights to shape your dumbbells.
Pay attention to the weight distribution while filling each mold to achieve balance.
Allow the cement to set for at least 24 hours,
depending on the humidity and temperature.
Afterward, carefully remove the dumbbells from their molds and allow them to cure for another week for maximal strength.
Tips: Always wear gloves and a mask while handling cement to protect your skin and respiratory system.
For added grip, you can wrap the handles with foam or tape after the dumbbells have cured.
If you're looking for some color, consider adding non-toxic liquid paint to the mix before pouring it into the molds.
This can give your dumbbells a personal touch while maintaining their functionality.
Molding Techniques for Creating Dumbbell Shapes
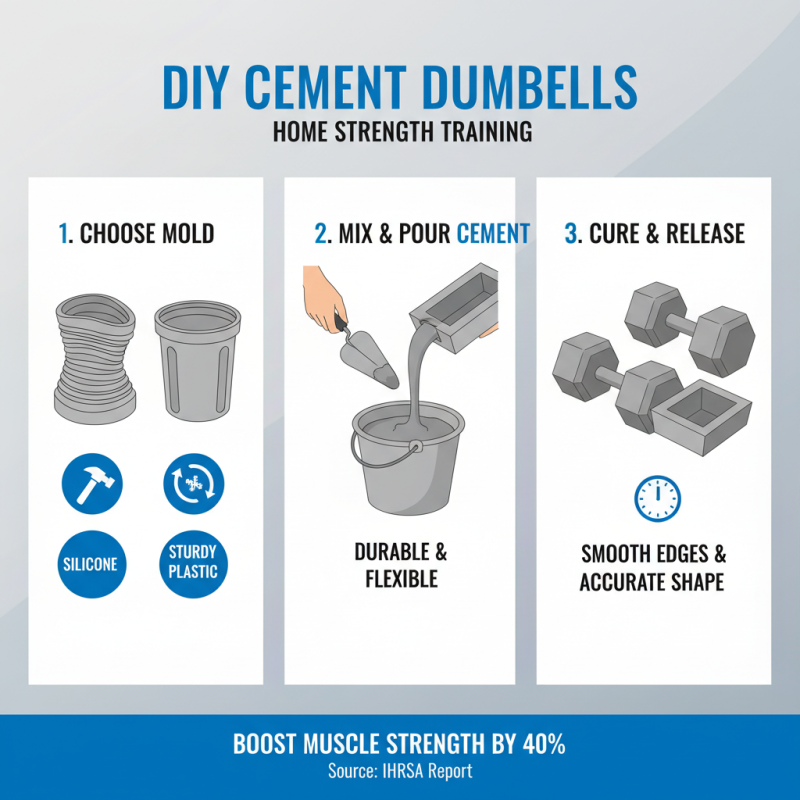
Molding techniques play a crucial role in creating effective cement dumbbells for home workouts and strength training. The process begins by selecting the right mold material, which needs to be durable enough to withstand the pressure of wet cement yet flexible enough to release the finished product easily. Common materials for molds include silicone and sturdy plastic, as these help achieve smooth edges and accurate shapes. According to a report by the International Health, Racquet & Sportsclub Association (IHRSA), incorporating weighted training into your fitness regimen can enhance muscle strength by 40%, making customized solutions like cement dumbbells a practical option.
When molding your dumbbells, consider using a two-part process: the handle and the weights. First, create the handle using a smaller mold filled with cement, allowing it to cure fully before attaching it to the weight portions. For the weights, you can use larger molds and experiment with varying shapes and sizes to meet different strength training needs. Utilizing fiber reinforcement in your cement mix can enhance durability and reduce cracking, with studies showing a 20% increase in tensile strength.
**Tips:** Always wear protective gear when working with cement to prevent skin irritation. Additionally, ensure even leveling of the cement during pouring to avoid imbalances in your dumbbells. Lastly, allow adequate curing time, typically 24 to 48 hours, to ensure structural integrity before testing your new equipment in a workout routine.
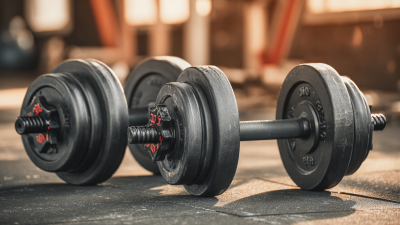
Tips for Curing and Finishing Your Cement Dumbbells
When creating cement dumbbells for home workouts, the curing and finishing process is crucial for achieving durability and an appealing look. A proper curing process, which involves maintaining adequate moisture levels in the cement, can significantly enhance the strength of your dumbbells. According to industry reports, concrete that is cured for at least 7 days can reach up to 90% of its compressive strength. This means taking the time to cure your dumbbells not only increases their lifespan but also ensures they can withstand the rigors of regular use during your strength training routines.
For finishing, consider sanding the surfaces after curing to eliminate rough spots and sharp edges. This will not only provide a more comfortable grip but also reduce the risk of injury. After sanding, applying a sealant can protect the concrete from moisture and wear. A report from the American Concrete Institute indicates that sealers can significantly extend the life of concrete products by adding a protective barrier against environmental factors. By investing time in both curing and finishing, your homemade cement dumbbells can become a reliable part of your fitness arsenal, allowing you to train effectively and safely at home.
How to Make Cement Dumbbells for Home Workouts and Strength Training - Tips for Curing and Finishing Your Cement Dumbbells
| Dimension |
Value |
| Weight of Each Dumbbell |
5 kg (11 lbs) |
| Cement Type Recommended |
Portland Cement |
| Water to Cement Ratio |
0.5:1 |
| Curing Time |
7 Days |
| Finishing Material |
Varnish or Sealant |
| Drying Time Before Use |
24 Hours Minimum |
| Mold Material Suggested |
Plastic or Silicone |
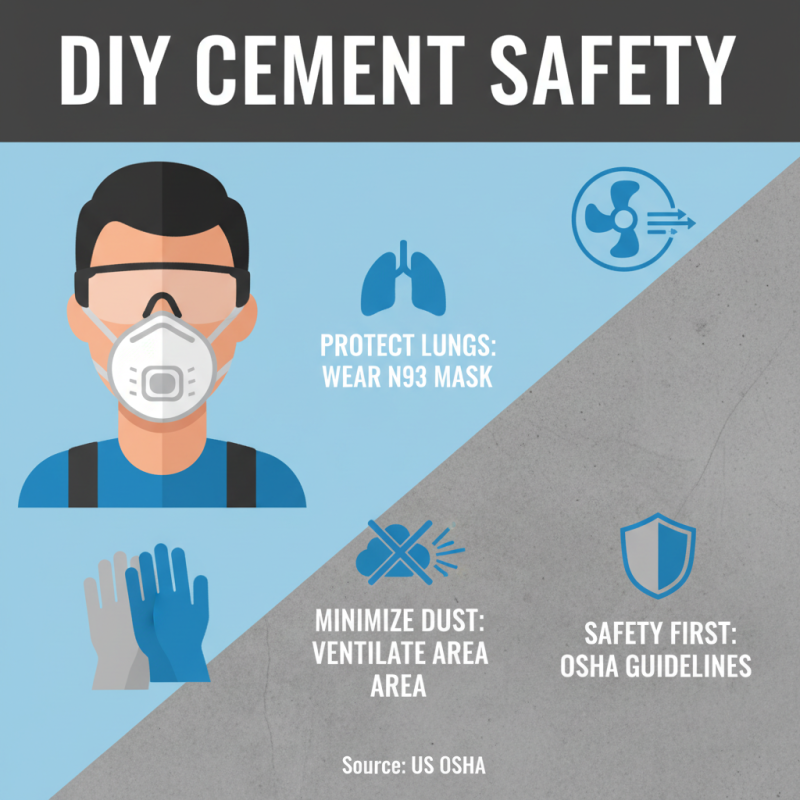
Safety Precautions for Handling Cement During DIY Projects
When undertaking DIY projects involving cement, safety should be your foremost concern. According to the U.S. Occupational Safety and Health Administration (OSHA), exposure to silica dust—a common component in cement—can lead to serious respiratory problems and even lung disease over time. It's recommended that DIY enthusiasts wear N95 respirators or equivalent protective masks to minimize inhalation of harmful dust. Additionally, ensuring proper ventilation in the workspace can significantly reduce the accumulation of dust particles in the air.
Hand protection is equally crucial when handling cement, as the alkaline nature of wet cement can cause skin burns and irritation. The American National Standards Institute (ANSI) suggests using durable gloves that conform to guidelines for chemical resistance. Eye protection is also vital; safety goggles can protect against splashes that may lead to serious eye injuries. As nearly 2.5 million non-fatal workplace injuries are recorded annually in the U.S., according to the Bureau of Labor Statistics, maintaining a safe environment during cement work not only protects personal health but also promotes overall productivity in any DIY endeavor.